A friendly, basic introduction to needle felting in 3 simple steps. In contrast to techniques like wet felting and nuno felting, you can begin learning to needle felt with very little preparation and equipment. Learn to needle felt here.
Introduction to Needle Felting
Don’t need the Intro? Skip down for step-by-step instructions with pictures and video
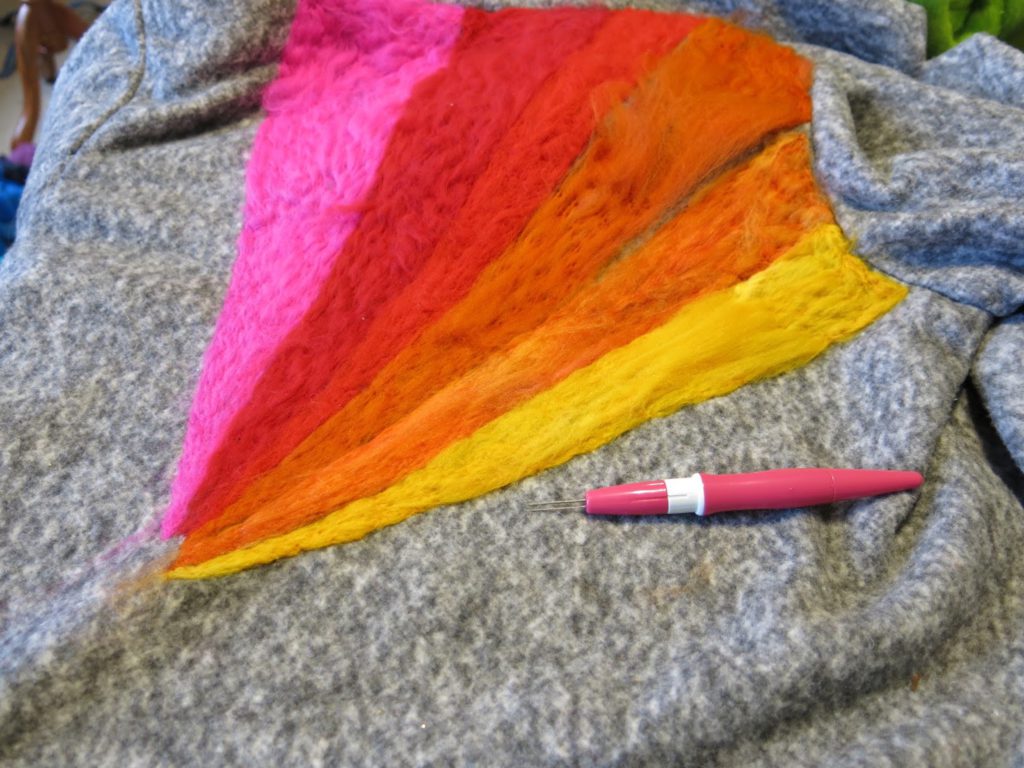
What You’ll Learn: This tutorial provides friendly, simple instructions to get you started with a needle felt project. You can create a range of two dimensional (applique) and three dimensional (sculptural) projects using needle felt techniques. Artisans generally make cute animals using sculptural needle felting, but you are only limited by your imagination and creativity. We’ve seen needle felted gnomes, aliens, Furbies, elves and old men. Applique needle felting projects often take the form of flowers, but, once again, you’re only limited by your artistic vision (and patience).
Why Is Felt Special? (skip down if you just want to learn to needle felt)
Felt is a special type of cloth that is loom-free. Instead of being woven like other fabrics, felt is a woolen fiber that has undergone trauma. To create felt, you need to act on wool with two forces: compression and agitation.
Here’s What You’ll Need to Start your Needle Felt Project
1. A block of open-cell foam.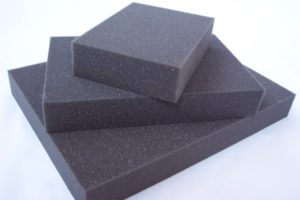 (Foam is your base.)
2. One or two needle felting needles. (A bigger and a smaller is great.)
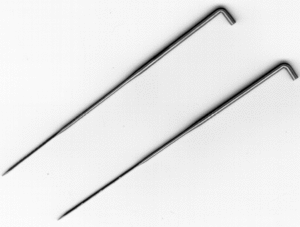 (Needle Felting Needles are Barbed. You can alternatively use a needle felting tool.)
3. Some clean, unspun wool.
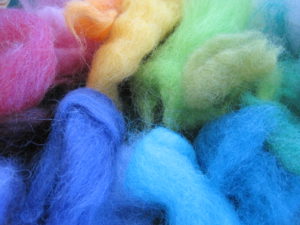 (Unspun Felting Wool)
4. Safety gear (a couple of thimbles or something to protect your fingers from wayward strikes.)
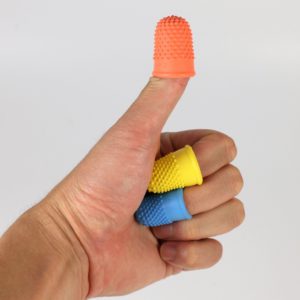 (Fashionable Safety Equipment)
5. Finally, you’ll need a form or background for your shape.
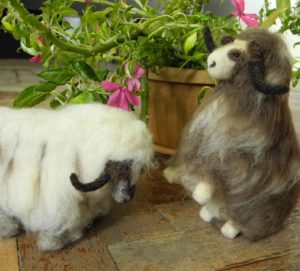 (Yaks made from needle felt techniques in Kyrgyzstan.)
For Sculptural Needle Felt projects like these friendly Yaks, you’ll need to first create a form from wire or pipe cleaners. If this is something you’d like to see a tutorial on, please comment below. You can also do some small sculptural needle felting projects without first creating a wire form. Organic shapes such as eggs and snowmen are great candidates.
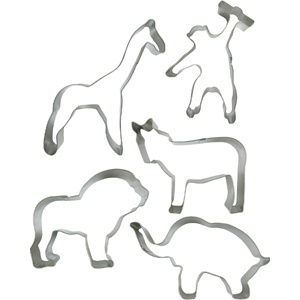 (Cookie Cutter)
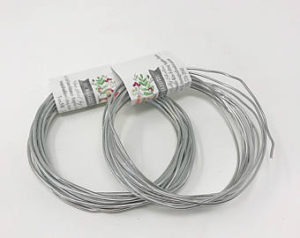 (Wire Frame)
For two dimensional needle felting projects, you’ll generally applique the felt to a piece of fabric or other item such as a pillow. Applique needle felting is a great way to decorate existing objects or crafts with friendly shapes like flowers and hearts; as a result, many artisans will use an outline such as a cookie cutter or playdough mold as a guide.
Step By Step Needle Felting
For this needle felting tutorial, we’ll be showing you how to make a simple, three dimensional shape using your fingers, wool and your needle.
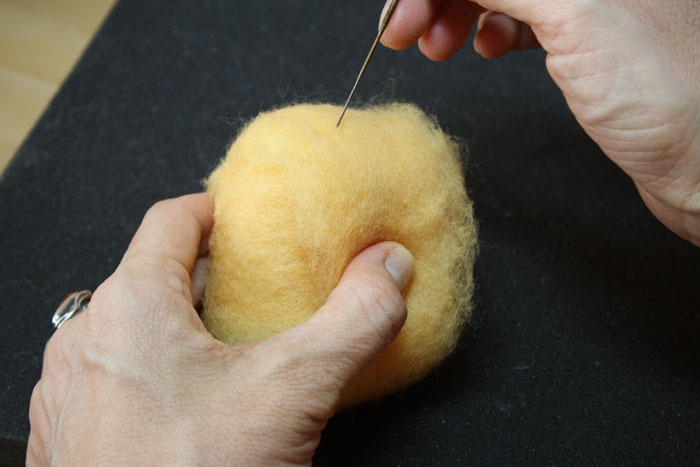
Step 1. Bunch It
 Compress and bunch your wool using a series of folds. For fist-size piece of wool, you should make about 20 folds (one on top of the other) and get as much air out of the wool as possible. Once your wool is fully folded, give it a little roll to create a rough, cylindrical shape.
Step 2. Tack It
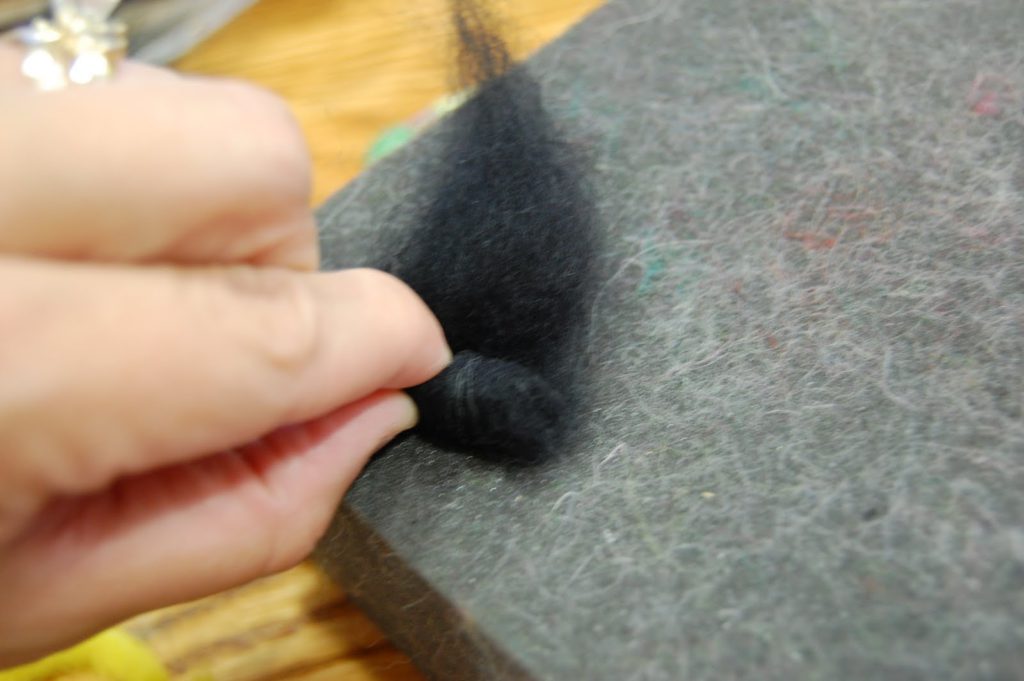
You’ll want to make a series of pokes around your bunch so that the bunch binds together. Do multiple lines of pokes along and around your bunch. You can (and should) make rapid pokes, but be careful to poke at a right angle to the wool – otherwise the needle can break. Essentially, think of yourself as creating lines of stitches around the bunch to keep it all together.
Step 3. Poke It
 Here’s where the real needling starts. We recommend putting on some music. (Make your playlist recommendations in the comments below.) We also recommend donning some protective gear so you don’t begin to bleed out your tender digits.
The more you poke, the firmer, more well-formed and cleaner-looking your object will be. After you’ve create a firm, friendly object, you can add decorative accents with other-colored tufts of wool or build-up your original shape with more wool and, of course, more poking.
Want to see more about needle felting? Check out this insightful video from GlobeIn Artisans. Or ask us a question in the comments section below.
For our next tutorial, we’d like to teach something that will make you happy. We can teach an advanced needle felting technique, provide an introduction to wet felting, or work with any of our talented artisans from around the world to give you a helpful craft tutorial.
Thanks for reading your tutorial on needle felting. Let us know what you’d like to learn in the comments section below.
